

How To Use Boot Repair In Ubuntu
In your Linux life time, you may accept faced many boot bug. Like you experimented with some stuff and afterward you institute out that you can't boot into your precious Linux operating system at all!
Boot Repair is a tool to repair mutual boot problems on Ubuntu, Debian, Arch, Linux Mint, OpenSUSE, Fedora and other Linux distributions, Windows and Mac OS operating systems.
If you install Windows operating system after y'all've installed a Linux distribution such every bit Ubuntu, you won't be able to kicking into your Linux operating system. Kicking Repair tin help.
Anything can become wrong while multi-booting Linux operating systems. Boot Repair can help every bit well.
Boot Repair tin can
- Fill-in partition tabular array
- Backup device boot sectors
- Install GRUB bootloader
- Configure Grub bootloader
- Add kernel options
- Change the default Bone in Chow
- Restore a Windows compatible MBR
- Repair a cleaved filesystem
- And many more.
You can acquire more about Boot Repair at https://sourceforge.net/p/boot-repair/home, the official website of Kick Repair.
In this commodity, I will show y'all how to use Kicking Repair on Ubuntu. I will be using Ubuntu 18.04 LTS for the demonstration. Permit's get started.
Installing Boot Repair:
You usually install Kick Repair on an Ubuntu alive boot as you may not exist able to boot into your operating organisation installed on the hard drive at that time. So this is what I am going to focus on in this article.
Yous can brand an Ubuntu bootable USB stick of any latest version of Ubuntu Alive DVD ISO image. I accept a defended article on that topic, which you lot tin read at https://linuxhint.com/rufus_bootable_usb_install_ubuntu_18-04_lts/
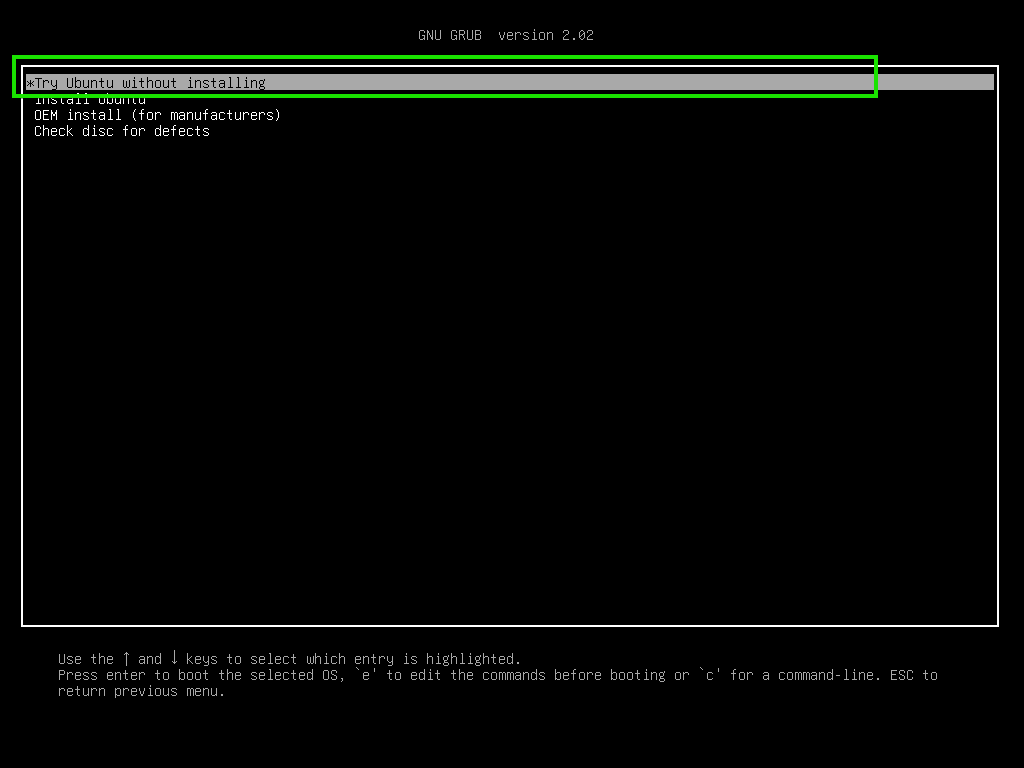
Once you lot're done with making a bootable USB stick of Ubuntu Alive DVD ISO paradigm of your choice, kick from it and select Attempt Ubuntu without installing from the GRUB menu as shown in the screenshot below.
Now connect to your network and open a Final window (Press <Ctrl> + <Alt> + t)
Kicking Repair is not bachelor in the official packet repository of Ubuntu. So you lot have to install information technology from the Boot Repair PPA.
Now add together the PPA of Boot Repair with the post-obit command:
$ sudo add-apt-repository ppa:yannubuntu/boot-repair

Now printing <Enter> to go on.

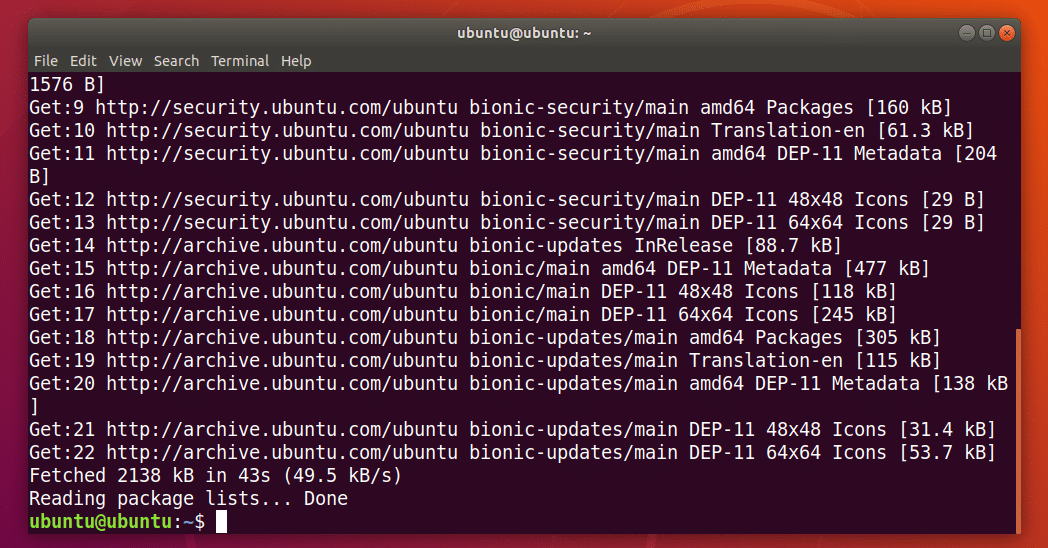
The Boot Repair PPA should exist added and the APT package repository cache should be updated.
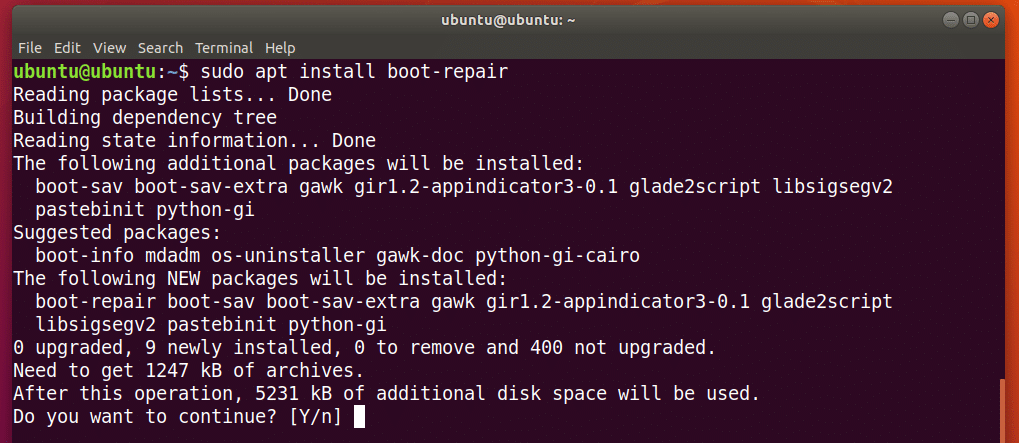
Now y'all can install Kicking Repair with the following command:
$ sudo apt install boot-repair

Now press y and then press <Enter> to continue.
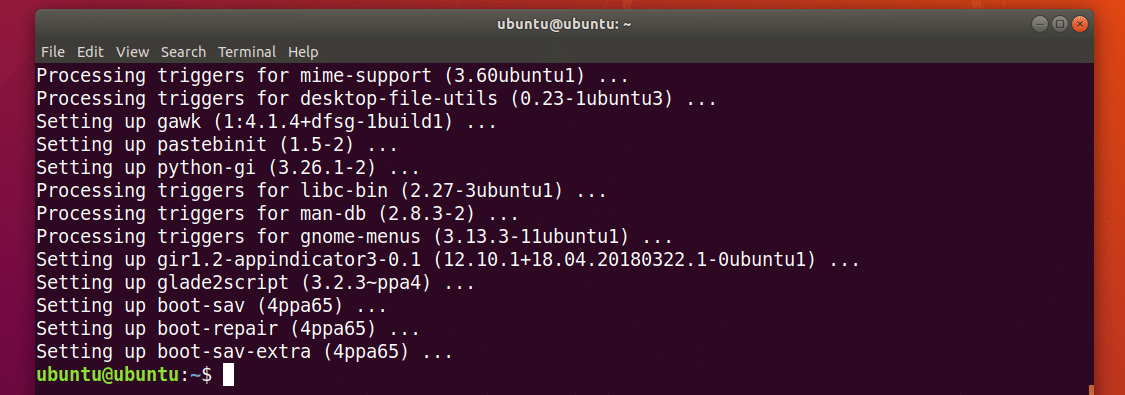
Boot Repair should be installed.
Now you can start Boot Repair Awarding Bill of fare:
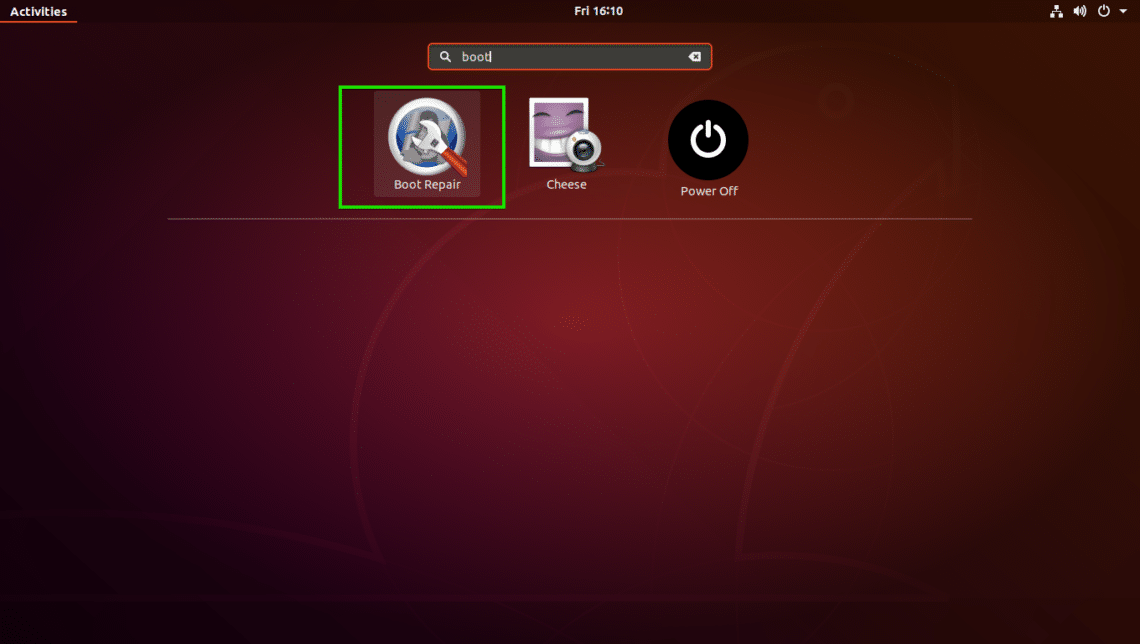
You lot tin can as well start Kicking Repair from the command line with the post-obit command:

Boot Repair should offset.
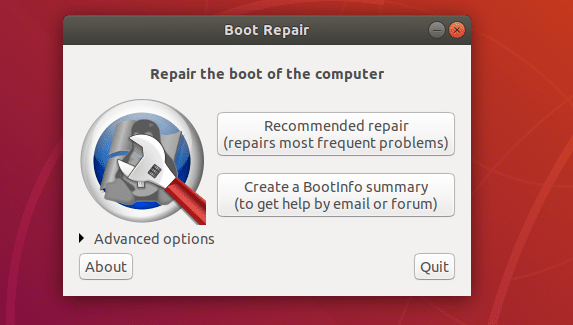
Repair Boot Problems with Boot Repair:
The near mutual repair option of Boot Repair is Recommended repair equally marked in the screenshot beneath. It should repair nigh of the boot issues you may confront.
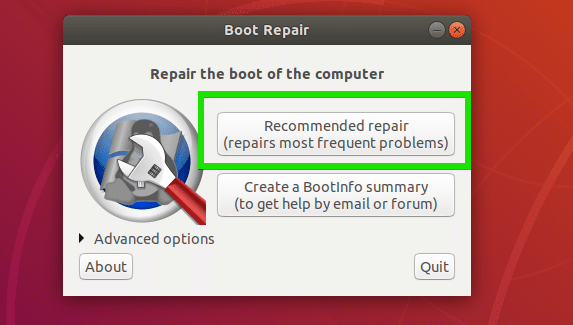
In one case you lot click on it, information technology should notice and set up boot problems for you.
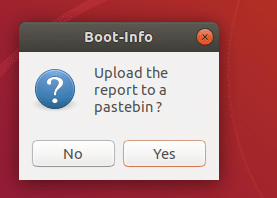
you will come across the following option. You can upload the written report to pastebin by clicking on Yes. If you don't desire that, merely click on No.
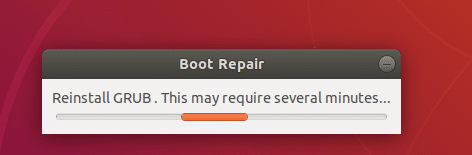
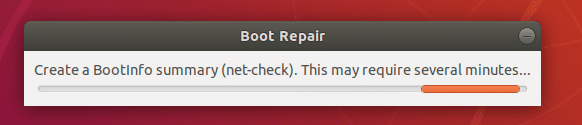
The repair process should continue.
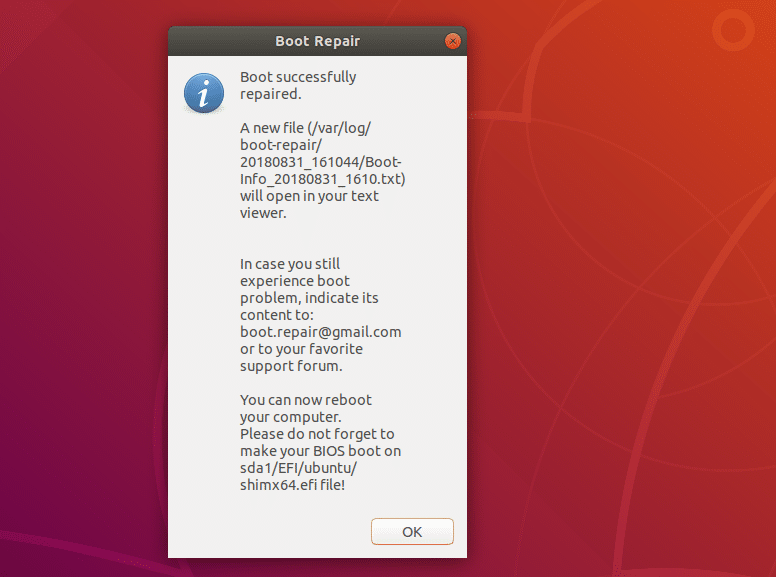
Once the repair is complete, you lot should see the following window. Just click on OK.
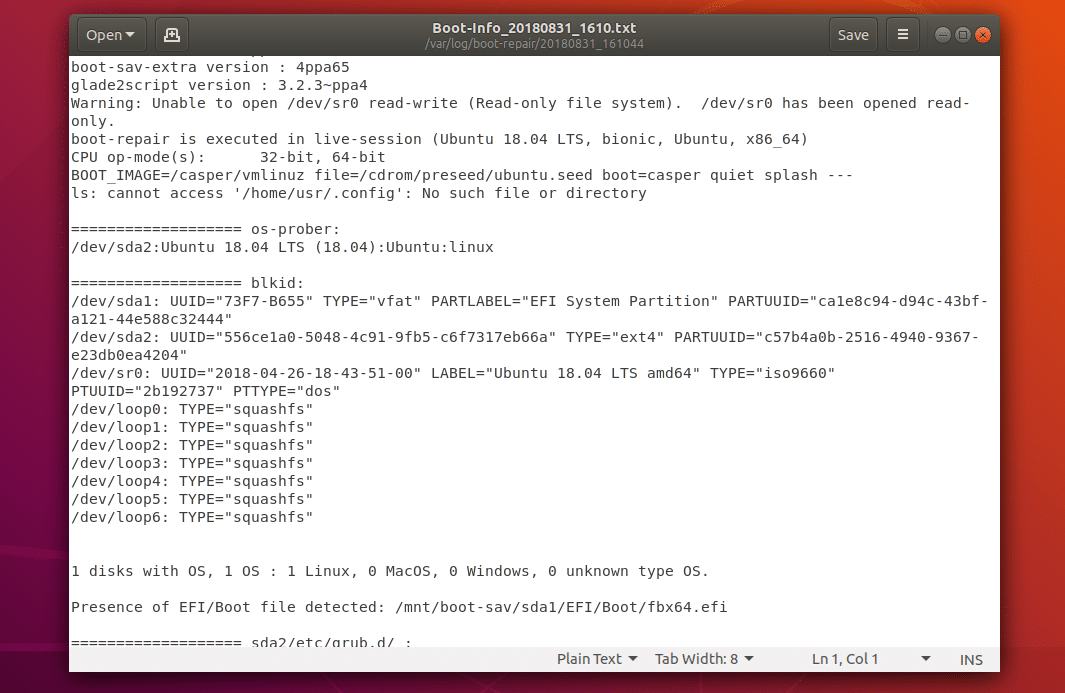
A text document should as well open up up. It contains data virtually your unabridged system and what Kick Repair did to information technology in society to repair kicking problems.
Now yous should exist able to kicking into your installed operating systems every bit usual.
There are many advanced repair options in Kicking Repair. Just open Boot Repair and click on Advanced Options every bit marked in the screenshot below to reveal them.

As you can meet, there are many advanced options in Kicking Repair.

I will talk about these in the next sections of this article below.
Backing Up Partition Table with Boot Repair:
You can backup your partition table from Boot Repair. It is important every bit if your partition table gets corrupted somehow, you will be able to recover the partitions and get your data dorsum. Otherwise, you may loose all your data.
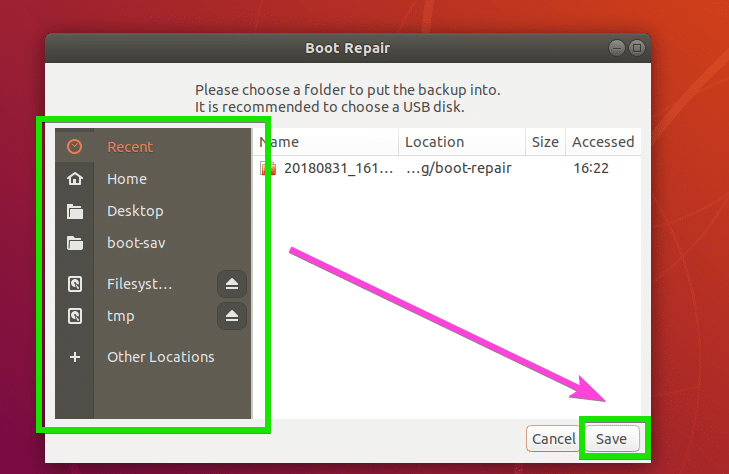
To backup your sectionalization tables, just click on Backup partition tables, bootsectors and logs push button as marked in the screenshot below.

Now select a location where you want to salvage the partition table data and click on Salvage.
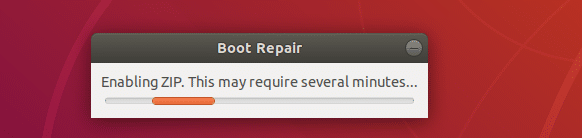
Saving partitioning tabular array….
Once the partition table is saved, you should run across the following message. Merely click on OK.

Now you should be able to detect a zip file in the directory that y'all selected earlier equally you can see in the screenshot beneath.

Repairing File Systems with Boot Repair:
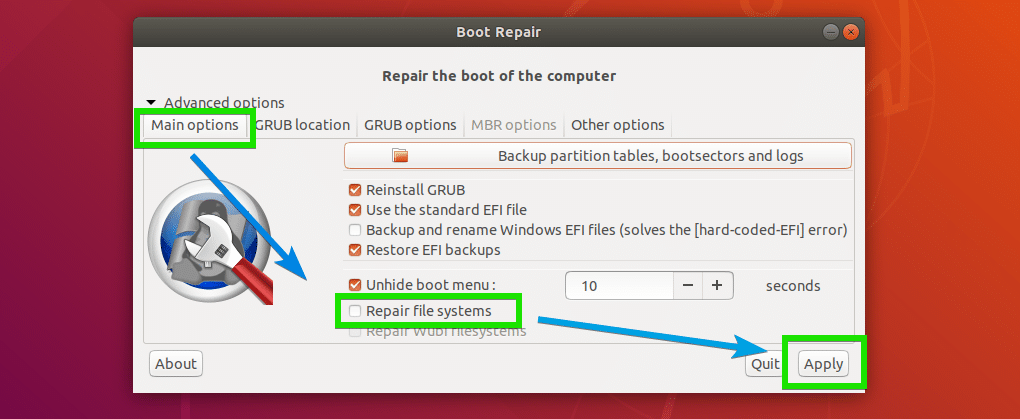
At times, your file systems may go corrupted and Ubuntu won't be able to set information technology automatically on boot. Information technology may result in boot failure. Y'all can prepare the file system with Kick Repair. Just check the Repair file systems option from the Primary options tab as marked in the screenshot below and click on Utilize.
Information technology should have a while to repair the filesystem and fix boot problems. Once it'south washed, yous should be able to boot into your installed operating systems as usual again.
Changing GRUB Location with Boot Repair:
Yous can tell where GRUB is installed on your hard bulldoze from the avant-garde options of Kicking Repair. If you have multiple hard drives installed on your computer that has GRUB installed, and so yous may desire to set which hard drives you want to repair here.
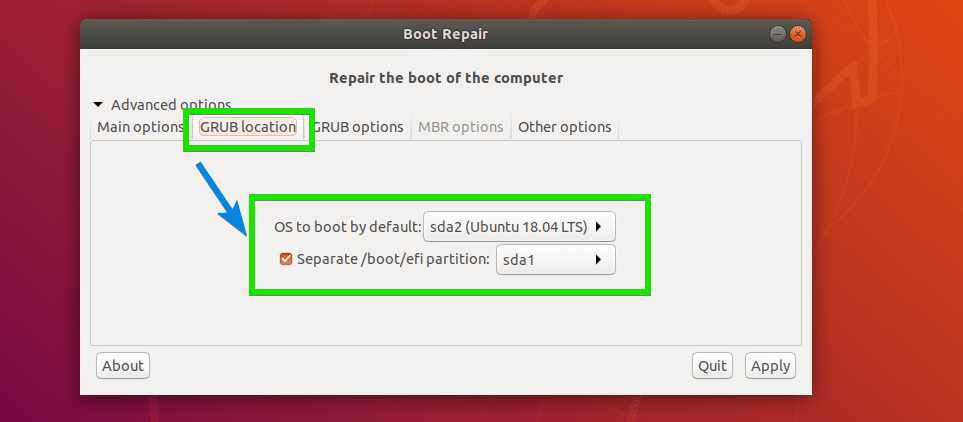
To change Grub location, go to the Grub location tab of Boot Repair. Now select the hard drive sectionalization from the OS to boot by default driblet down carte. If you're using UEFI based motherboard, and so too select the hard drive partitioning which is used as EFI System Division from Split up /boot/efi partition driblet downward bill of fare.
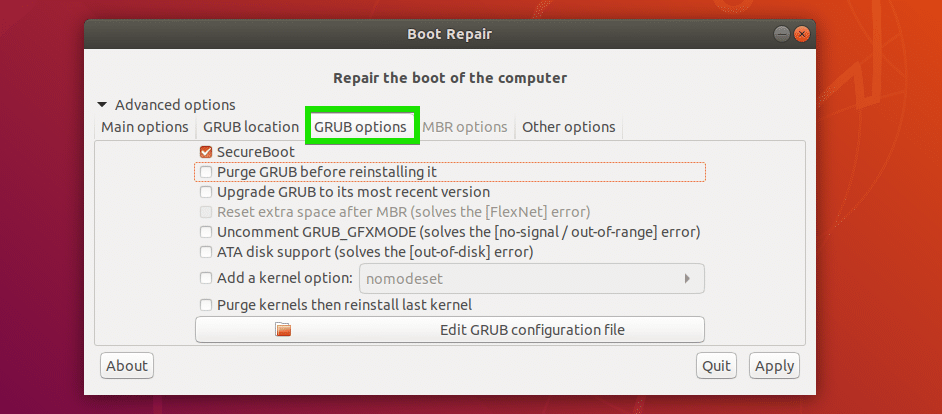
Changing GRUB Options from Boot Repair:
You tin also change many of the GRUB options from the GRUB options tab of Boot Repair equally you lot can see in the screenshot below.
That's basically how you install and use Boot Repair on an Ubuntu Alive System. Cheers for reading this article.
Almost the author
![]()
Freelancer & Linux Organization Administrator. Also loves Web API development with Node.js and JavaScript. I was built-in in Bangladesh. I am currently studying Electronics and Communication Engineering at Khulna University of Engineering & Technology (KUET), one of the demanding public engineering science universities of People's republic of bangladesh.

How To Use Boot Repair In Ubuntu,
Source: https://linuxhint.com/ubuntu_boot_repair_tutorial/
Posted by: joneshaviculd62.blogspot.com
0 Response to "How To Use Boot Repair In Ubuntu"
Post a Comment